Getting Started
Add your first live project
A live project is an ongoing build on Devmaniac. It helps you document what you are creating, why you are creating it, and how your progress changes over time.
You do not need a finished app to create a live project. In fact, the point is to start before everything is polished. A live project gives your work a public home while you are still building.
What is a live project?
A live project is a project that is still in progress. It can be a new idea, a rough prototype, a half-built app, a learning project, a hackathon build, or a serious product you are actively improving.
On Devmaniac, live projects are different from finished projects because they focus on the journey, not only the final result.
A live project can show:
- What you are building
- Why you started the project
- Which technologies you are using
- What progress you have made
- What problems you are facing
- What you plan to build next
- How the project changes over time
Step 1: Open the create menu
After signing in, open the create menu from inside Devmaniac. This is where you can choose what type of project you want to create.

Choose Live Project when your project is still being built or actively improved.
Step 2: Add the project title
Your title should be clear and easy to understand. A good title tells people what the project is without making them guess.
Good examples:
- AI Resume Analyzer
- FastAPI Admin Dashboard
- Developer Portfolio Tracker
- Redis Notification System
- Hackathon Team Finder
Avoid vague names like My App, Test Project, or Practice. Those names do not help people understand what you are building.
Step 3: Write the project goal
The goal explains what you are trying to achieve with the project. Keep it simple and honest.
I am building a full-stack app that helps developers track their coding progress and turn unfinished projects into visible proof of work.
A clear goal makes your live project easier to follow. Visitors should understand the purpose of the project before they read your updates.
Step 4: Add a project description
The description gives more context than the goal. Use it to explain the problem, the idea, the main features, and what you are currently working on.
You can include:
- The problem your project solves
- The target users
- The features you plan to build
- The current status of the project
- The reason you are building it
Do not overthink it. A clear paragraph is better than a huge fake startup pitch.
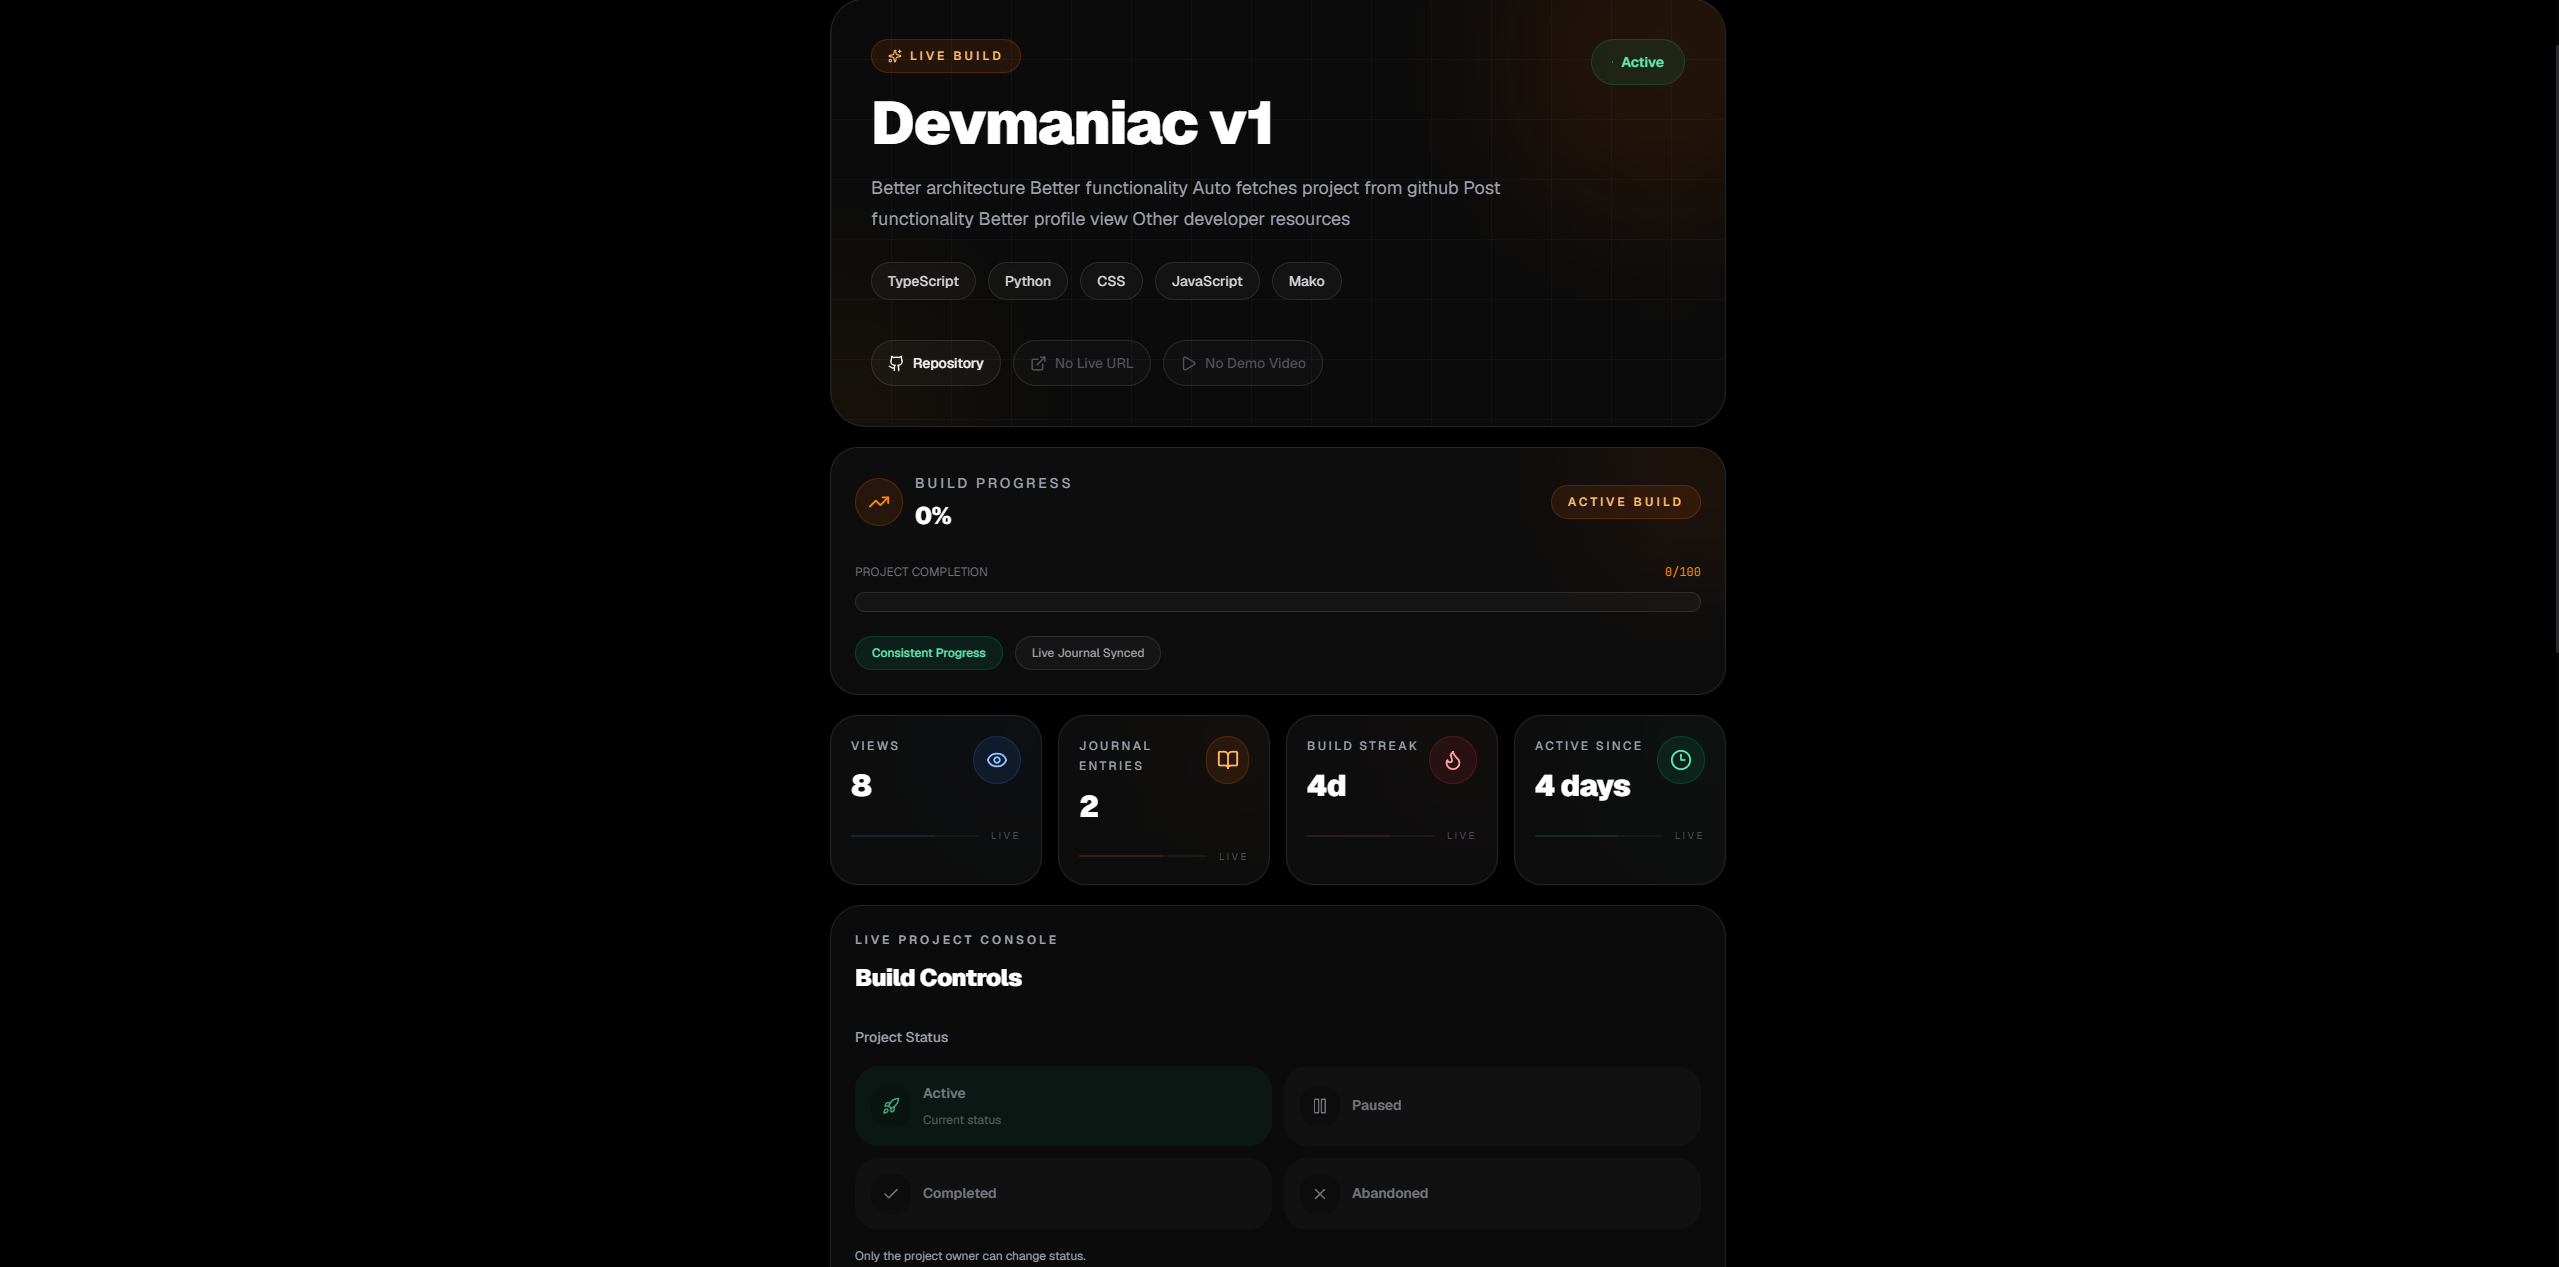
Step 5: Choose the project status
Pick the status that best describes where the project is right now.
- Idea: You are planning the project.
- Building: You are actively developing it.
- Paused: The project exists, but you are not working on it right now.
- Completed: The project is finished or ready to be converted into a finished project.
Be honest with the status. Devmaniac is about real progress, not pretending every project is already production-ready.
Step 6: Add your tech stack
Add the tools and technologies you are using for the project. This helps others understand what you are practicing and what your project is built with.
Examples:
- Next.js
- React
- FastAPI
- PostgreSQL
- Redis
- Docker
- Tailwind CSS
- Clerk
Only add tools that are actually part of the project. A giant fake tech stack makes the project look weaker, not stronger.
Step 7: Add useful links
If you already have links, add them. If you do not have them yet, you can update the project later.
- GitHub link: Useful for showing the code.
- Live link: Useful when the project is deployed.
- Demo video: Useful for explaining the project quickly.
A live project does not need all links on day one. Start with what you have, then improve the project page as the project grows.
Step 8: Add images if available
A thumbnail or screenshot can make your project easier to understand. Use an image that shows the project interface, concept, architecture, or current progress.

If your project has no UI yet, that is fine. You can add images later. The most important thing is to create the project and start documenting progress.
Step 9: Publish your live project
After filling in the important fields, publish your live project. Once it is created, it becomes part of your public profile and can collect updates over time.
This is where the real value starts. The project page is not the finish line. It is the starting point for your build history.
After creating the live project
Your next job is to keep the project alive with updates. You can post journals when you make progress, fix bugs, deploy changes, learn something, or make a technical decision.
Good first updates can be simple:
- Created the project and added the basic idea
- Set up the backend structure
- Designed the first version of the UI
- Connected authentication
- Deployed the first version
- Found a bug and started fixing it
Common mistakes
Avoid these mistakes when creating your first live project:
- Waiting until the project is perfect
- Using a vague project title
- Writing a description that does not explain the project
- Adding technologies you are not actually using
- Creating the project but never posting updates
- Trying to make the project look bigger than it really is
The strongest live projects are not the ones that look perfect on day one. They are the ones that show real progress over time.
The goal
Your first live project should answer one question:
What am I building, why am I building it, and what progress am I making?
Once your live project answers that, you have started building public proof of work.